Showing posts with label SnapSeed. Show all posts

Thursday, March 28, 2013

How to: Create Cool Looking Grunge Style Pics


Camera Apps:
Hipstamatic with Helga Viking lens + C-Type Plate film
PureShot

Additional Apps used for post processing:
SnapSeed - for most of the work
PhotoToaster - for the vignetting of the PureShot pics
A+Signature - for the copyright watermark. This great app has a really cool feature that helps you to adjust multiple items added to your picture. For instance, to add copyright watermarks to all of the photos included in the collage shown above, A+Signature provides lines to snap the next item to in case you're adding multiple copyright watermarks. The items don't only line up horizontally but there's also a vertical help line appearing when you're adding items. I thought about adding one bigger copyright watermark spanning over all of the six pictures but then I decided to add a watermark to each of the pics. The snap line feature helped me a lot to align my watermarks correctly.

Ok, so here's the trick to create cool looking grunge style pics quickly. What you need is a Hipstamatic grunge combo, like the Helga Viking lens + C-Type Plate film. Then load your Hipsta photo into SnapSeed and chose TUNE IMAGE, then AMBIANCE. Pull the scale 100% to the right, then tap APPLY. Now chose DETAILS and STRUCTURE. Again pull the scale 100% to the right. Do you see the picture details coming out nicely, including the grunge effects of the Hipstamatic combo? Tap APPLY again. Then chose GRUNGE! Maybe the first given result will satisfy you. If it doesn't you can tap the crossing arrows on the left of the scale until you find a result that you like. Alternatively you can move the scale by wiping with your finger across the screen horizontally. Also you can change the texture by tapping one of the four included textures again and again until you like the result. When you put your finger on the screen and move it vertically, you get access to STYLE, BRIGHTNESS, CONTRAST, TEXTURE STRENGTH and SATURATION. I used a setting of about 25 for most of the values in all of my pics. Don't forget to tap APPLY when you're done, then SAVE your work. Alternately you can add a FRAME. Unfortunately SnapSeed doesn't include a vignette filter so I use PhotoToaster for that. Oh and if you're not satisfied with the HDR effects after applying AMBIANCE  nd STRUCTURE you may repeat this again and again if you like. To give you an example of the AMBIANCE + STRUCTURE + GRUNGE effects that SnapSeed proposed here's an sample image from SnapSeed:


I did nothing else but applying AMBIANCE and STRUCTURE 100%, then I was chosing GRUNGE and I saved the picture with the first proposed result. Nice, isn't it?

What comes now are the single pics that I did after the procedure explained above. It's very easy and it's quickly done. The result speaks for itself, doesn't it? I'm a professional locomotive engineer. Two days ago I was asked to transfer engine #2217 from the workshops back to the railroad yard, but works on the engines hadn't been finished as I arrived so I had to walk back to the railroad yard, hence I took that chance to shoot some pics.


Pictures based on Hipstamatic photos:


Pictures based on PureShot photos:


                     __________________________________________________________

Friday, March 15, 2013

It's snowing again!


Camera App: PureShot

Additional apps used for post processing:
SnapSeed
TouchRetouchHD
SnowDazeHD 
Blender
A+Signature


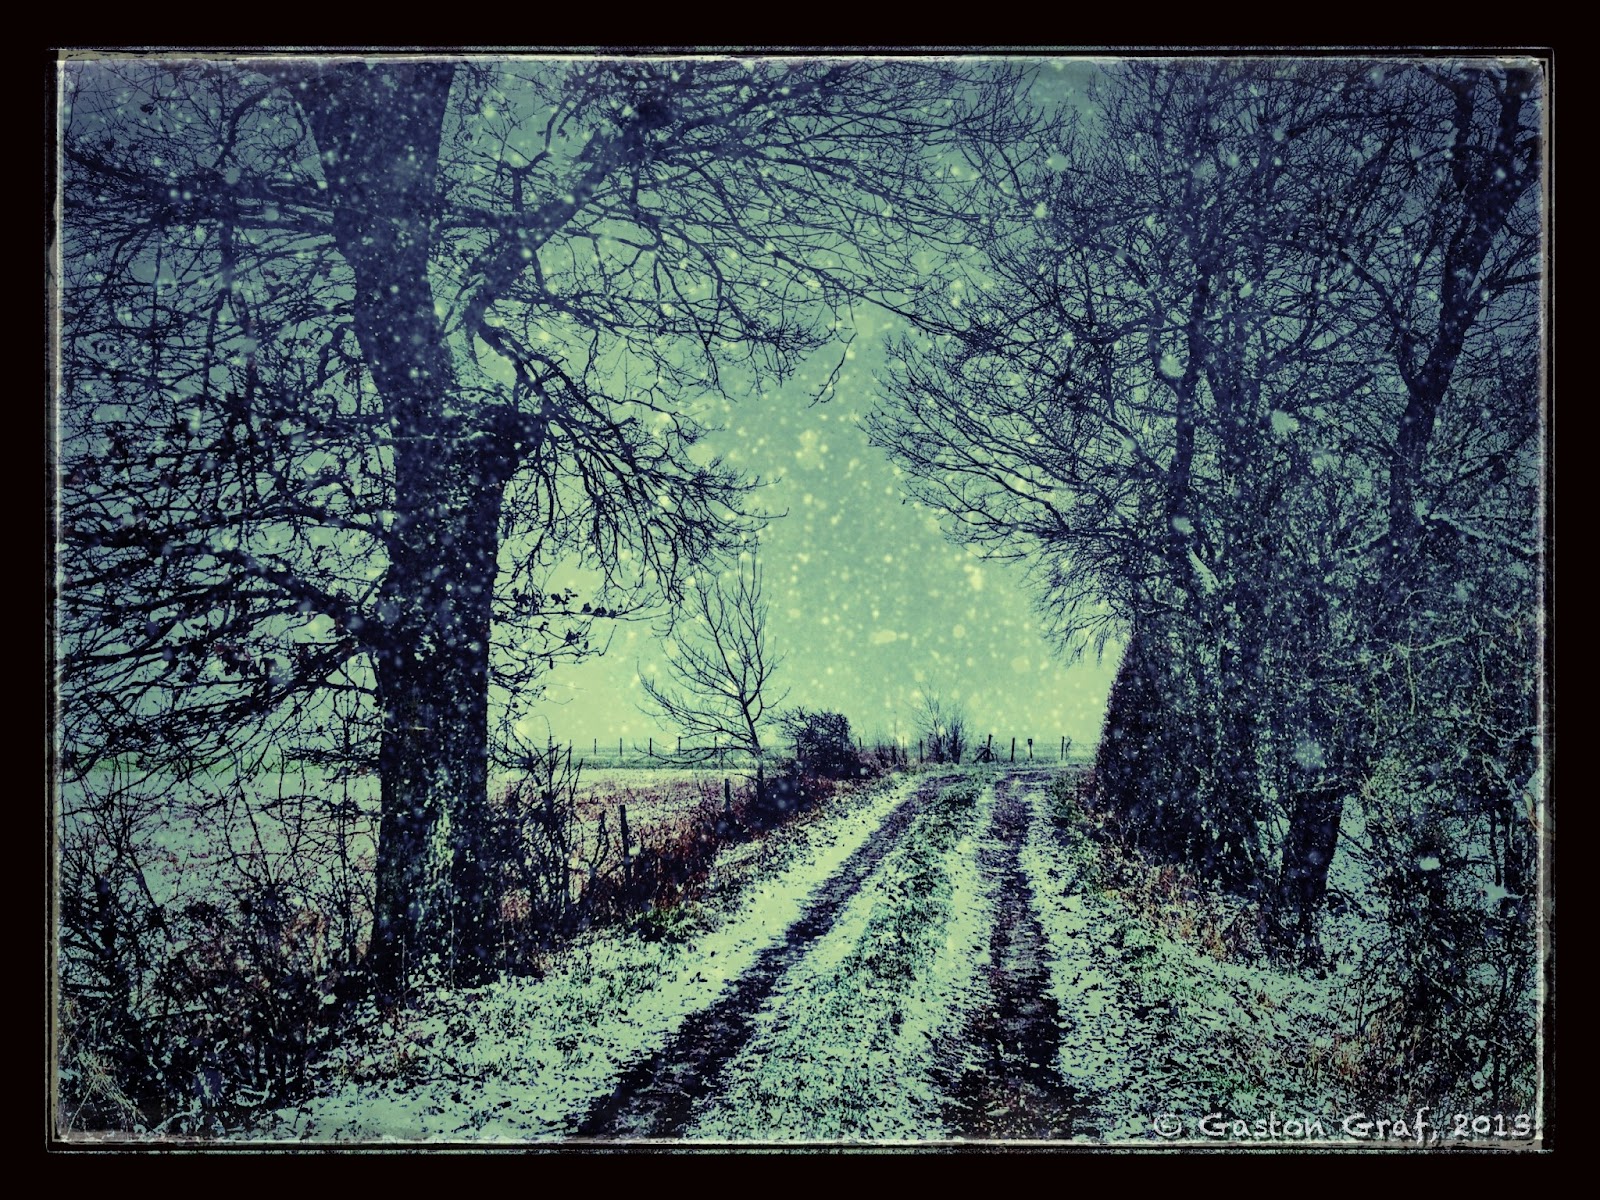
Four days ago it started snowing again as I went out for a walk with our dog. It was snowing for about 24 hours, causing chaos on the roads again. I believed Winter was finally fading away but I was wrong. Winter was striking back at it's worst. 3-8" of snow was enough to raise hell again in Europe. Especially in northern France and Germany many traffic accidents happened, people got injured, people died.... I took the photo for this picture as snow had just started to fall again. Buddy, our dog, loves snow! It's a nice region where we live. From our house it's only a 10min walk to get into the woods. After snowfall finally stopped, the temperatures dropped down to as cold as -17°C (1.4°F) at night. Now Buddy loves it to run around like mad in the meadows, snapping at the snow and rolling in it. So at least some dogs are happy about the snow. I'm not! I hate snow because it makes roads dangerous and prevents me from riding my bike...

I edited the original PureShot photo with SnapSeed, TouchRetouchHD, SnowDazeHD and Blender. The true snow flakes in the photo turned out black in the center of the picture so I removed them with Touch Retouch. Then I added artificial snow in SnowDazeHD. SnowDaze is one of the brilliant apps made by JixiPix. All of their art apps are highly recommended. 


This is the original PureShot photo, a little underexposed because I could only point and shoot as there was a  crazy dog on the other end of the leach that I had to hold. I like the photo nevertheless because it shows the natural light of that moment quite well. 


This was the stage saved in SnapSeed after applying "Ambience" and "Structure" filters. For "Ambience", tap on "Tune Image", touch the screen so the menu appears, and move your finger up to activate "Ambience". I applied the filter at 100%. For "Structure", go to "Details", and choose "Structure" from the menu. You must be careful with this because it will make a noisy picture even noisier but if there's no noise you can usually pull the slider to 100%. "Ambience" in combination with "Details" and/or "Drama" gives a better HDR effect than most HDR apps can do. Before I decided to use SnapSeed for it I also tried iCameraHDR, ProHDR and even Mobile HDR, but none of the results looked as good as the result from SnapSeed did. What is important in this picture are the dark snowflakes. Like an HDR effect enhances noise it also enhances small details but in this case the natural snowflakes didn't look good so I decided to load the picture in TouchRetouchHD to remove them from the center, where they were most visible.


This is the result after removing the snowflakes in TouchRetouchHD. It as a simple task to mask them off with the brush tool.


With the natural snowflakes now gone I was ready to add artificial snowflakes in SnowDazeHD. I created two versions with identical settings with the exception of the snow effect where I used two different settings. Then I was blending both versions in Blender to mix the snowflakes. Settings was Normal blending mode with slider to 65% to let some snowflakes appear a bit more faded than the other which gave the effect a more natural look.


After the snow was added I re-opened the picture in SnapSeed to play around with it. This is a black and white version whee I applied a red filter. I tried other filters too indeed but the red filter looked best. In then I was most happy with vintage effect #9 plus frame #19. If you tap the crossed arrows on a chosen frame, the frame changes. That's a clever way to include more variations for a single frame design. The same applies to any effect where the crossed arrows appear. I did two versions with frame #19 to blend them in Blender because I wanted a more even frame. Blending settings was normal blending mode 50/50 = slider in the middle.


This is the first result from Blender after blending both frame versions to obtain a more even frame.

To create a very unique frame for my picture I flattened my layers by touching and holding my finger in the center of the screen in Blender until the menu appeared to chose the "flatten" option from. The flattened picture then appears down left in Blender. I opened the SnapSeed version with the retro effect but without frame on the right side. Now I painted the mask to let the outer part of the unframed picture shine through the black frame. After applying the mask I adjusted the level of transparency of the black frame by pulling the slider to 65%. Copyright watermark was added in A+Signature.


The finished picture.

--------------------------------------------------------------------------

Sunday, March 10, 2013

On the road again!


Camera App: PureShot

Additional Apps used for post processing:
FrontView: to correct lens distortion.
SnapSeed: to work my photo into a retro style picture.
Blender:: to restore the original size of the picture. After correcting lens distortion I cropped the picture back to it's regular format in SnapSeed. After editing was done I loaded the original photo in Blender on the left side and the edited but cropped version on the right side. Then I pulled the slider to the full right in normal blend mode and I saved my picture. This is a great trick to restore the iPhone's native resolution even if an app doesn't save in maximal resolution or if you had to crop your picture, as in my case.
A+Signature: for the copyright watermark.

Finally, on February the 17th the roads had been dry again and the snow was gone. I felt so happy to ride again! Winter is the hardest time for every biker. All you can do is caressing your bike, doing maintenance and cleaning work while listening to cool Heavy Metal music in your garage, waiting for the white shit called snow to melt away. I HATE snow! Snow belongs to the North and South poles, to Greenland and Alaska, or to the mountains, but it doesn't belong onto roads which it makes dangerous to everybody's life.

________________________________________

Wednesday, August 29, 2012

Doing HDRs with the 645pro (beta)


Camera App: 645pro beta

Other Apps used for post processing:
Mobile HDR - to create a HDR picture from 3 files. Most iOS HDR apps use only 2 files, one overexposed and one underexposed. Mobile HDR aims at creating HDR pictures from your bracket shots made with a DSLR. Because the 645pro currently offers the best picture quality available on the iPhone I wanted to see if Mobile HDR can be useful for photos made with the iPhone too. The answer is YES it can! But to create the files necessary for the HDR picture one must use some tricks because the 645pro offers no bracket mode shooting. So I did the following:
1) I used the 645pro film with the richest colors, which is the FC5 film.
2) I used the Neutral Density #1 filter with 100% efficiency. Currently that filter is only available in the actual beta version of the 645pro but that version is to be released soon. It runs rock stable and comes with a lot of improvements. So if you don't already have the 645pro on your iPhone I recommend you buying it. It's definitely the best camera app available, and it's a pleasure to work with it. 
The 645pro saves your photos in TIFF format as well as in JPG formt. The TIFFs are the RAW files, unprocessed, no film effects, no filters. Development of RAW photos shot with a DSLR is usually done in a so called "RAW converter" but no such app exists for the iOS devices so development is done in the 645pro itself, that's why it's called a dRAW file - a developed RAW file. The JPG file (of the same photo) is the photo with the configured effects applied, such as films and filters used.
3) In case of the old Diesel engine (above) I also created a black and white version in MonoPhix HD as well as an overexposed version in Laminar.
4) To create the HDR picture in Mobile HDR I used the black and white version created in MonoPhix HD, the JPG version from 645pro and the overexposed version made in Laminar. To create the overexposed picture I simply adjusted its curve by pulling it a bit outwards on a spot set in the middle of the line.

Here you see the original photos and the finished HDR picture

Screenshot from Laminar showing the adjusted curve 
to create an overexposed photo.


The black and white picture created from the TIFF file
using MonoPhix HD.


After importing the files into Mobile HDR the processing
 screen looked like this.


Here's yet another HDR picture created in a similar way than the picture on top of the page. In this case I created an underexposed version of the TIFF file to use with the set of 3 photos in Mobile HDR. Then I created a black and white version from the HDR picture in MonoPhix HD. I also tried Snapseed but I liked the result from MonoPhix HD more. Then I was opening the color HDR and the b/w HDR in Blender. The color version on the left side - the b/w version on the right side. Blending mode was "normal", with the slider set 25% to the left. This enhanced the colors and de-saturated the picture a bit at the same time.

As usual, a copyright watermark was added in A+Signature.

If you got questions please feel free to ask. You may also find me on Facebook. Just search for "quaffii" or "Gaston Graf".
~~~~~~~~~~~~~~~~~~~~~~~~~~~~~~~~~~~~~~~~~~~~~~~~~~~~~~~~~~


Monday, December 12, 2011

Black Wheel of Power


Camera: Canon EOS40D with 17-85mm EF USM kit lens.


RAW file developed in Canon Digital Photo Professional.
Photo processed on iPad2 with the following apps:
SimplyHDR-HD, Photo fx Ultra, Blender, FilterStorm Pro, Snapseed and TouchRetouch HD. Unfortunately I cannot provide details about every step I took to create this picture because I was playing around with a lot of apps but in the end I wasn't satisfied with the results so I went back to the beginning and restarted from HDR version made with SimplyHDR-HD. I used Photo Fx Ultra + Blender to work out the colors because I wanted to have a deep black wheel. I resized the picture in FilterStorm Pro, added some structure in Snapseed and removed some unwanted white spots with TouchRetouch HD.
A+Signature was used for the copyright watermark, as usual.


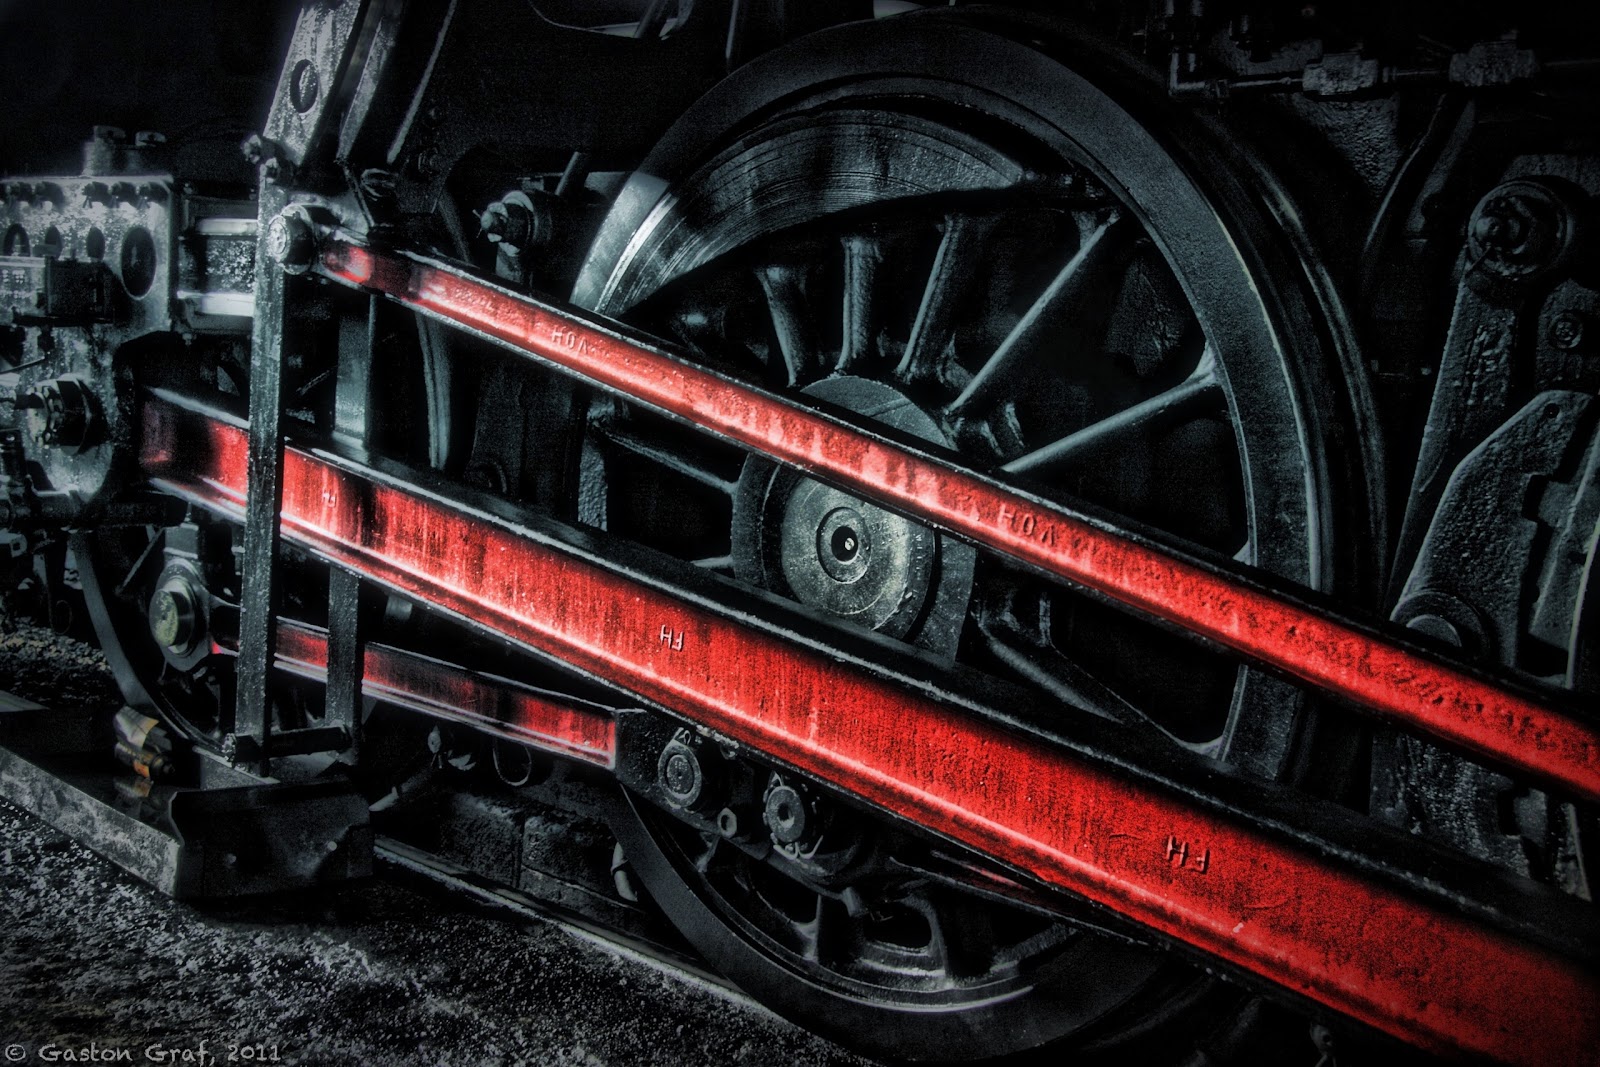
This is one of the big power wheels of steam engine 5519, photographed as the engine was in the shed. Railroad friends may find more information at the website of 5519. Unfortunately the website is in German only but you may find photos of the engine in action if you click on the word "Foto" in the top row of the page.

This picture is based on an analog photo I made a few years ago, in 2005 maybe. I happened to just return with the old switcher engine 910 which is visible in the background, as 5519 rumbled onto the turning table.


In World War II, as the Grand-Duchy of Luxembourg had been occupied by the Germans, the Reichsbahn ordered a set of 20 steam engines of the class 42 at the "Wiener Lokomotivfabrik Floridsdorf (WLF)" in Vienna in Austria but the engines couldn't be delivered to the Germans anymore as the war then ended. So the national railroad company SNCFL received these engines by the end of 1948, beginning of 1949, registering them as class 55. Engine # 5519 had been build in 1948 in Vienna Floridsdorf. It's "Fabriknummer" (serial no.) was 17615. Initially, the German Reichsbahn had planned to let it run unter the number 42 2718.
In service of the SNCFL this type was mainly used to haul coal and ore trains. It remained in service until the early 1960s as the costly steam engines got replaced by new class 3600 (electric) and the new classes 1600 and 1800 (diesel).
I still remember 5519 rotting away in the town park of Bettembourg, as I was a boy of 14. But 8 years later some railroad enthusiasts made an incredible effort to restore and save it. Now good old 5519 lives a new life again as a very popular tourist attraction, hauling tourist trains to Germany, France and Belgium.


Btw: if you're interested to have a ride then please contact the operators from their website. You may order tickets over the Internet.


This is the Instagram version of my picture. I really cannot say which version I like most, the original size, or the square size. Decide for yourself:


Questions? Send me an email to (quaffit(at)gmail.com) or leave me a comment ;o)!
Note: Please replace (at) with @ in my email address. This is a simple measure to prevent spam bots from harvesting addresses.


~~~~~~~~~~~~~~~~~~~~~~~~~~~~~~~~~~~~~~~~~~~~~~~~~~~~~~

Sunday, December 4, 2011

First Haircut


Camera: Canon EOS100 with 35-135 USM lens, film unknown,
Year the photo was made: 1996

Apps used for post processing:

MobileMonetHD - for a soft color version of the original photo.
Blender - to blend the original photo with the MobileMonet version.
AritstaOil - for an oil painting simulation of the Blender result.
ArtistaSketch - for a pencil simulation of the Blender result.
Blender again - to blend pencil version with oil version.
PhotoForge - for an Overlay version.
Blender again - to blend the Overlay version with the previous one to enhance details and contrast of the colors.
Snapseed - to bring out the structure a little more, plus enhancing vibrancy.
FilterStorm Pro - to enlarge the picture canvas.
TouchRetouchHD - for some touchups.
Snapseed again - for the irregular black frame.
A+Signature - for the handwritten copyright watermark.

This is my first picture created on the iPad2... Being much happy with FilterStorm4, Snapseed and Iris on the iPhone4 I was now impatient to test the iPad versions. I was playing around a lot with FilterStorm Pro because I wanted to add more details to the girl's eyes and mouth but in the end I dropped that idea again because I wasn't satisfied with the result. I must say I was quite disappointed about FilterStorm Pro because of it's file management system. This could have been done much simpler. Working with layers is a bit complicated at first but once understood how it works the system offers a lot of possibilities. Of Iris I was also disappointed because of one big flaw: when opening a picture it's automatically being set to a lower resolution of only 2048x1461px (in this case the original resolution was 3156x2236px) and there is no option included to change that - neither in the iPad settings nor are there app settings to switch on maximal resolution support. I wonder what's that's now good for? So if you want to get your loaded picture back to it's original resolution you must adjust Iris to it. However, I did not notice a visible loss of quality after re-adjusting and saving my picture as I tested Iris. Another flaw in Iris on the iPad is the missing landscape mode. I prefer using my iPad in landscape mode for editing pictures.

The original photo for this painted simulation was made in the summer of 1996, I guess it was by the end of July, as my then four years old daughter Anna-Katharina had her first haircut at the same hairdresser who cut my hair for 30 years since he gave me my first haircut, as I was four years old too. I scanned the original photo and optimized it in PhotoShop already a few years ago. Although I always loved PhotoShop I preferred editing my pictures on my iPhone after I discovered the apps for it and now with an iPad2, picture editing is an even greater pleasure.

~~~~~~~~~~~~~~~~~~~~~~~~~~~~~~~~~~~~~~